
Different Ways to Protectively Mount Your Artwork
Mounting your artwork is an exercise in protection for the artwork as much as it is a visual choice. In order to ensure longevity for your pieces, they need to be set up in their frames to a certain standard to ensure no damage is done over time. This process is referred to as archival framing.
Archival framing is a standard set out by the Fine Art Trade Guild, of which we are members. The idea is that material choice and frame construction need to be done with the intention of proper, long term protection in mind. Part of our consultation with you when deciding what to choose for your art will be discussing the level of protection needed, and if required what needs to be done to ensure that long term.
The main things needed to ensure an archival grade framing job when mounting the artwork are 1. Archival tape 2. Archival boards both back and front, and 3. Ensuring an air gap between the artwork and the glass. We have another article explaining the ins and outs of Archival framing which goes into more detail which you can read HERE.
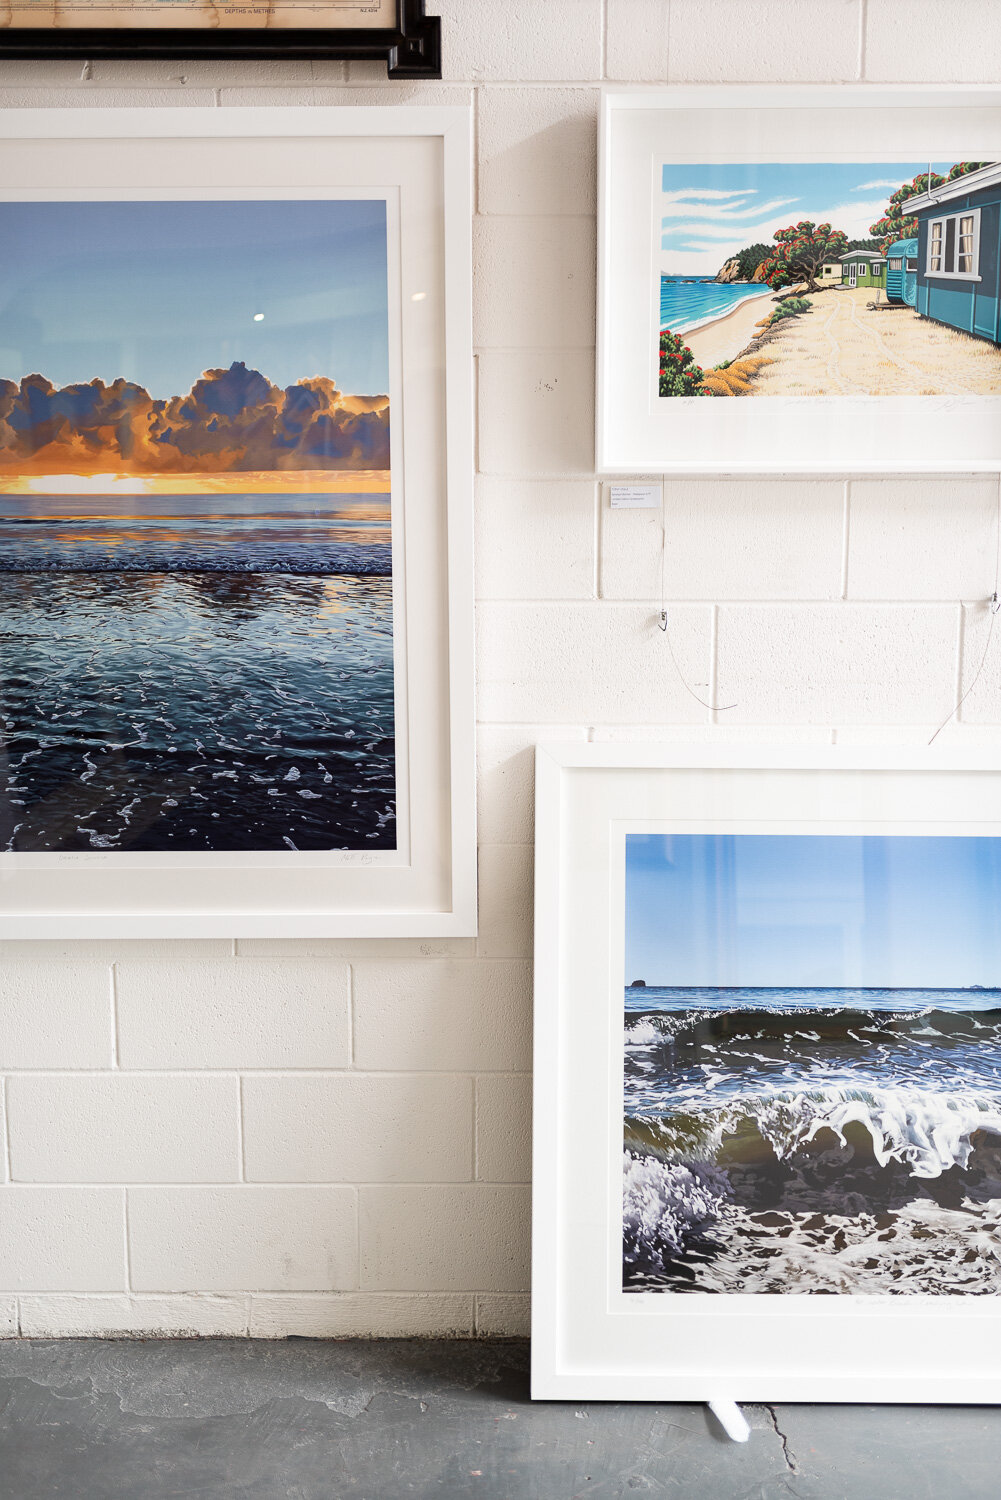
The following three examples are the three most common mounting techniques we do day to day. All are designed to be that protective option for your artwork, and exist to give you some variety in the final look of your frame. Framing to the edge of the artwork is not protective, so we try to reserve this for pieces that aren’t limited edition or original where possible.

Overmount
Construction:
Overmounts are the most traditional way of mounting a piece of art, and it is still the most common mounting technique today. This is achieved by sandwiching the artwork between a mat board with a window cut in it to reveal the image, and a backing board. Because it is pressed between two boards, a minimal amount of tape is needed to ensure it doesn’t slip out of place over time. Two to three hinges of archival tape sit at the top to keep everything straight.
This is the easiest way to protect your artwork. The 2mm bevel is enough to ensure an air gap between the print and the glass, and the minimal amount of tape needed to keep it in place makes it very simple to reverse later.
The only downside is if it is not paired with a UV filtering glass to slow the discolouration process down, you may find that the part of the image exposed to the light will discolour, and end up different from the paper behind the mat, making reframing a bit more restrictive.


Design:
The other beauty of a mat is that you can vary the look a lot and get really creative with it.
As a standard, the mat should be wider than the frame to ensure balance, but often going wider than that makes the piece look special.
We also as a standard will make the bottom border slightly wider than the top and sides to trick the eye into thinking it’s more balanced.
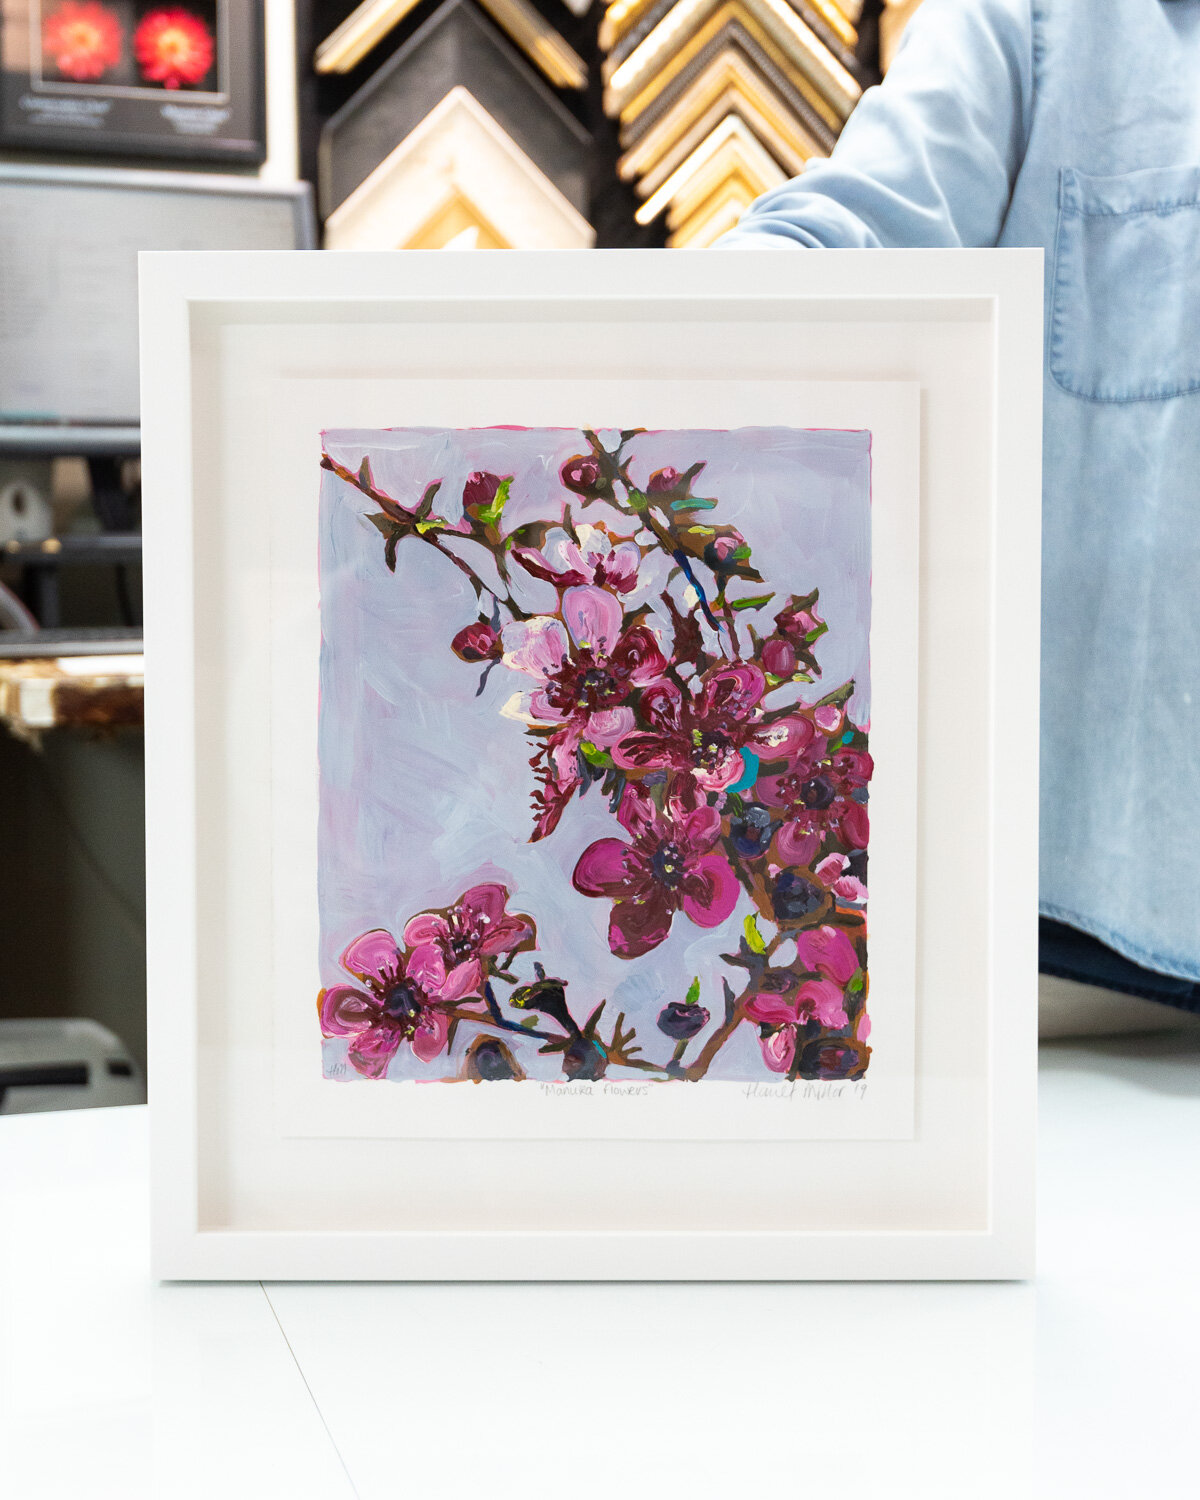
The super-wide mat with thin frame look is resurfacing from its popularity in the 90s, but with a modern twist in terms of frame profiles. This works really well on smaller pieces to give them more real estate on the wall.
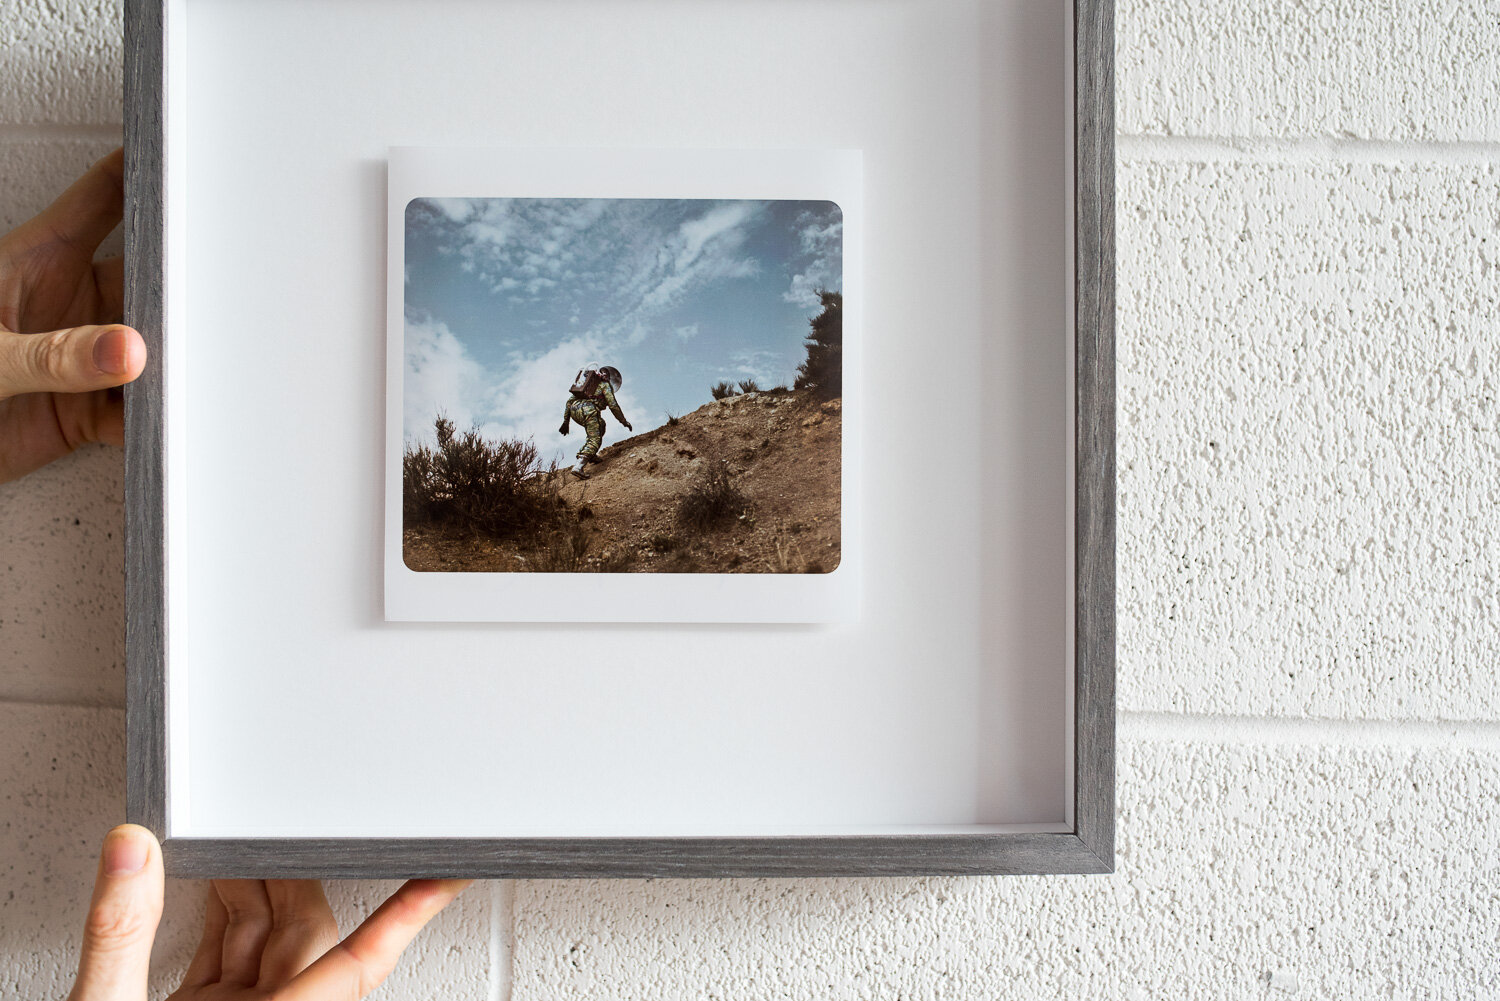
Replicating the shape of a polaroid with the mat is a great way to give things more space on the wall too. Making the top wider than the sides, and the bottom border even wider again, to go away from the traditional even top and sides, and slightly wider at the bottom.
We can also do different shaped mats as well, circles, hexagons, you name it.
Best use:
An overmount will work on everything from a protective point of view, and looks great visually on almost everything. It’s a classic.
This is best on prints, paper paintings, and some photographic prints. Some photographic prints look better framed to the edge, but if they are a valuable reproduction it is far more protective to be overmounted.
Float
Construction:
A float is where the artwork sits on top of the mat board rather than being behind a window like in an overmount.
This look is incredibly popular and is a more modern technique than an overmount. Floating the artwork allows you to show all the edges of the piece, showing off details that add to the look like the texture of the paper. The mat is then bigger than the size of the work to give some breathing room around it.
The way we fix the artwork in place is a lot more tricky than the overmount. Because it is essentially sitting on top of the board with no pressure from the glass or overmount to pin it down, tape needs to be applied to all edges of the work to keep it from shifting. We cut small slits in the matboard just in from all the edges of where the art will sit, thread a piece of tape through to fasten to the artwork, and then use another piece of tape on the back to fix it in place.
Floating the art on top of the board requires spacers to create that air gap and keep the art from touching the glass. These are small wooden or mat board covered foam strips that sit perfectly behind the rebate of the frame to create an almost box-like enclosure when the artwork is in place in the frame, keeping the artwork back in the frame and the glass at the front. These can either be small 2mm spacers just to create the gap and add no real visual difference, or deeper to create the box frame look.


Design:
Floats have very different rules around balance to an overmount. They are typically smaller as they are far less of a feature. A float draws the focus even more onto the image itself, the mat board just a necessary piece for keeping it protected more than anything here. It is also very common for there to be white around the edge of the print. Where this is normally covered either mostly or completely with an overmount, it is on full display here, meaning too much mat showing would create an unnecessary sea of white. As a stylistic choice, however, you can float it in a bigger sea of mat to help tell a story.
Floats also allow you to take even more advantage of deeper box frames, pushing the artwork to the very back, using the spacers stylistically as well as practically to create a super deep box frame look.
Best Use:
Floats are best when the edges can be part of making an impact with the art, either because there is a lot of detail in the edges that can’t be covered, or because they are textured in some way.
Tile Float
Construction:
A tile float in terms of frame construction and look is very similar to a traditional float. The difference is that instead of being tacked in place directly to the mat, the artwork is mounted to a tile of matboard or rag faced foam that is a few millimetres smaller on all sides than the artwork. We do this using the archival tape mentioned above. The artwork is then fastened to a bigger piece of mat using the tile so it is raised off the backing.
What this does is create a shadow around the edge of the artwork for definition. This is purely an aesthetic choice and is a great way to make a float look more modern than the traditional float.


Design:
Tile floats can handle having bigger mat boards around them than normal floats can as the key line of shadow helps to define where the print ends. This make it look less like it is in a sea of white. But equally, like a normal float you can make the borders a bit smaller with both large and small pieces and it looks well balanced. Basically it’s very versatile. Ha. Versa-tile. Get it?
You can also raise the tile from the backing as much or as little as you want. The bigger the lift, the bigger the shadow and the more dramatic the look is. As a standard, we do 5mm as it is enough to achieve the shadow we want, but doesn’t require a deeper frame profile.
Best use:
There is some overlap here with the kind of work that looks good using a standard float, but there are a lot of things that don’t work as a regular float that look great tiled. It is generally the more versatile of the two when creating a finished look.
Graphic or more modern-looking pieces or things with hard cut edges benefit from the added edge the shadow gives, making it a great way to frame things like postcards, or photographs if you don’t want to overmount them but want to protect them.